Understanding Vegetable Garden Fertilizer And How To Use It
Vegetable Garden Fertilizer
Using vegetable garden fertilizer and Mulching your vegetable garden has many benefits but with so many choices available and so many products being pushed on you, it can be difficult to know what you need. We’ve put together a useful guide on fertilizers which should answer all of your questions and help you make an informed decision.
How And Why To Fertilize A Vegetable Garden
Why use vegetable garden fertilizer? Well there is one big reason and that is to promote healthy, vigorous and productive plants and lets be honest, we want our vegetable plants to be as productive as possible. Vegetable plants are hungry beasts and will strip the nutrients from your soil so you need to make sure there is enough in there to keep them going.
So we will use our plant fertilizer in one of two ways by either fertilizing the ground prior to planting any crops or by adding fertilizer to already established plants to improve their growth and general health. What and when we do is dependent upon the plants we’re growing.
Ideally, we should be preparing and fertilizing the ground prior to planting, regardless of what veg we are planning on growing. For specifics around fertilizing different vegetables once they are already growing, please refer to their individual growing guide pages.
Is Plant Food The Same As Fertilizer?
Basically….. Yes it is.
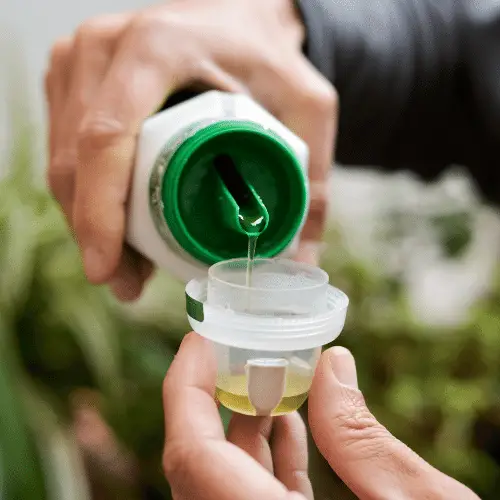
We’re talking about plant food and fertilizer that we either buy or produce ourselves. So in terms of this question, ‘plant food’ is generally going to be a liquid feed such as something like Miracle Grow or another similar brand.
When you buy one of these products they are, more often than not, advertised and labelled as ‘plant food’ and will display an NPK value as three numbers, something like 10-10-10 or 4-12-0. These are fertilizers – in the terms of how and what we use, ‘fertilizer’ and ‘plant food’ are basically the same thing.
What Do The Numbers On Fertilizer Mean
Plants use minerals in the soil, often referred to as trace elements, along with water, nitrogen, phosphorus and potassium to grow.
Most fertilizer packets display the ratio of the contents of these by their chemical symbols (NPK) and show them as the NPK ratio something like 10-10-10 or 4-12-0 or some other variation. Don’t worry, there’s no chemical/science lesson coming here.
So what are the NPK meanings?
The basics you need to know are;
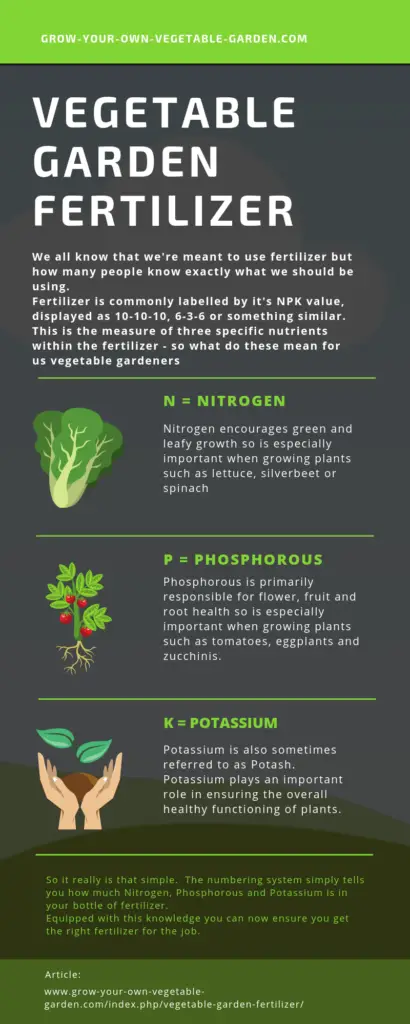
N = Nitrogen
This is a measure of the level of nitrogen within the fertilizer. Nitrogen encourages green and leafy growth so is especially important when growing vegetables such as lettuce, silverbeets or spinach.
P = Phosphorous
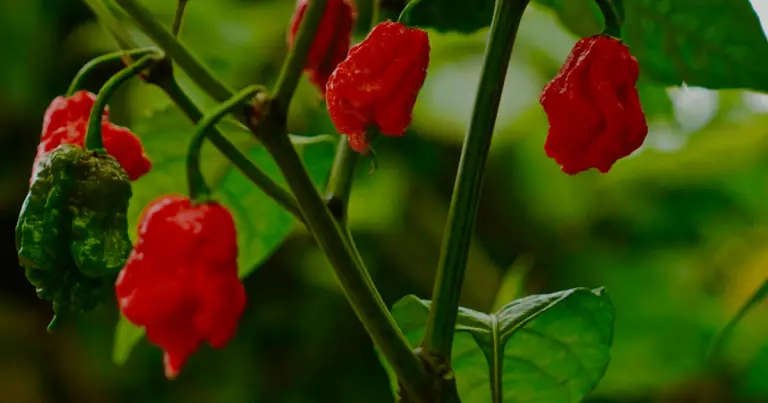
Phosphorous is primarily responsible for flower, fruit and root health so is especially important when growing plants such as tomatoes, egg plants and zucchini.
K = Potassium
You will sometimes hear potassium referred to as Potash. Potassium plays an important part in the overall healthy functioning of plants.
So anything you want to grow, where the main part you eat is the leaf, like say a lettuce or silverbeet, spinach etc loves nitrogen and anything that needs a flower to produce the part you eat, such as tomatoes and other fruits, also need nitrogen, but a reasonable dose of phosphorous, to encourage the flowers to make the fruit.
Solid Fertilizer Or Liquid Fertilizer
Vegetable garden fertilizer is available in solid or liquid form for both natural and chemical types so this choice is generally just one of convenience.
I primarily use solid fertilizer prior to planting by mixing it into the soil in my beds and then once my crops are established, if they need a helping hand then I will use liquid fertilizer because its far easier to apply without potential damage to my plants.
The only exception to this is that I always keep a supply of very specific dry fertilizer on hand for convenience and you can read about that product HERE.
Natural Fertilizer V’s Inorganic Fertilizer
Fertilisers basically come from two sources, either natural sources such as animal manures, compost bins (not strictly fertiliser), worm farms and naturally occurring minerals etc or from artificial, chemically produced sources. Both are readily available at any good garden supplier or hardware store.
Now we’re quite laid back over here so the last thing we’re going to do is lecture you on ‘all organic gardening’ and chastise or look down on you for using chemical fertilizers.
However, I tend to stick to natural fertilizer but this isn’t because I have any massive issue with the chemical choices – I have used a manufactured, inorganic product such as a Miracle Grow or similar in the past, especially on tomatoes and chillis.
I just prefer the natural fertilizer for a few reasons;
I know exactly what I’m putting on my vegetables and as the whole point of this is to eat them, it’s good knowing what has been on them.
They can actually help improve your soils structure.
For the purposes of fertilizing a home vegetable garden, there nutritional content is more than enough.
They can either be made at home or generally sourced really cheaply.
There are a few drawbacks to the natural approach though;
Things such as compost and manure can be bulky and smelly to store.
Nutritional contents can vary, not only from type-to-type, but from batch-to-batch so it’s often not possible to know the exact contents of homemade products.
Making liquid fertilizer or ‘feed’ from natural materials can be smelly and messy.
What Can I Use As A Natural Fertilizer
There is an abundance or organic fertilizer available commercially and it is a case of research, trial and error to figure out what is best for you.
If you were to ask for a recommendation then I would direct you towards Down To Earth Fertilizers as they produce quality products that have worked well for me. They do have an awful lot of products available though so you might want to have a read through our write-up on them to get a better idea of what’s available.
Natural sources of vegetable garden fertilisers basically come from the following:
Chicken Manure – This is typically high in nitrogen and can be quite strong so it has to be used with care.
Sheep Manure – Sometimes affectionately referred to as ‘garden marbles’ because of their shape and size. This has a good level of nutrient without being too strong so can be a good choice.
Horse Manure – Weaker than chicken and sheep manure and not necessarily great as a food source for plants but can be used really effectively as a soil conditioner. Care has to be used if you source Horse manure from a stable as it is usually saturated in urine and can burn plants. It should be left in a pile to compost down for a few weeks.
Cow Manure – Very similar to horse manure.
Blood and Bone Mixes – Blood and bone mixes are sold commercially as a powder and can vary in “nutritional value” so check the labels and compare brands.
Green Manure – Fantastic for adding nutrients to your soil as well as organic matter to help as a soil conditioner.
Take a look at our article on how to make homemade organic liquid fertilizer.
What Can I Use As An Inorganic Fertilizer
There is an absolute abundance of inorganic fertilizer available out there so it’s not really practical to list it.
It’s available in powder, pellets, granules or liquid form and with varying levels of nutrients there is one available that will suit your needs very specifically. It’s just a case having a look at what’s out there and then deciding what you need.
In Summary
We’ve obviously covered quite a lot in this article and I hope it’s of use to someone out there.
But just in case you’re feeling a little overwhelmed by all the information and options, I’m going to try and sum it all up here.
So here goes;
We fertilize our gardens to ensure there’s enough nutrients in the soil to help our plants flourish and produce lots of vegetables.
Plant food and fertilizer are basically the same thing.
What do the numbers on fertilizer mean? They show the NPK value. They’re a measure of the nutrient content of the fertilizer, showing the content of Nitrogen, Phosphorous and Potassium respectively.
Solid fertilizer or liquid fertilizer? My opinion, based on ease and convenience – solid to prepare the soil prior to planting and liquid once your crop is established.
Natural fertilizer or inorganic fertilizer? This one is completely a personal choice as you can do most of the job with either but I certainly go for organic.
There are lots of options out there for both natural and inorganic fertilizer. So whatever you want it to do, there is a fertilizer out there for it.